Interlocked Letters Logo Using Inkscape
Inkscape is free and open sourced vector graphics tool which can be used as replacement to Adobe Illustrator. We’ll be using Inkscape to draw a simple interlocked letters logo in this blog post.
Requirements
- Inkscape
- Your creativity :)
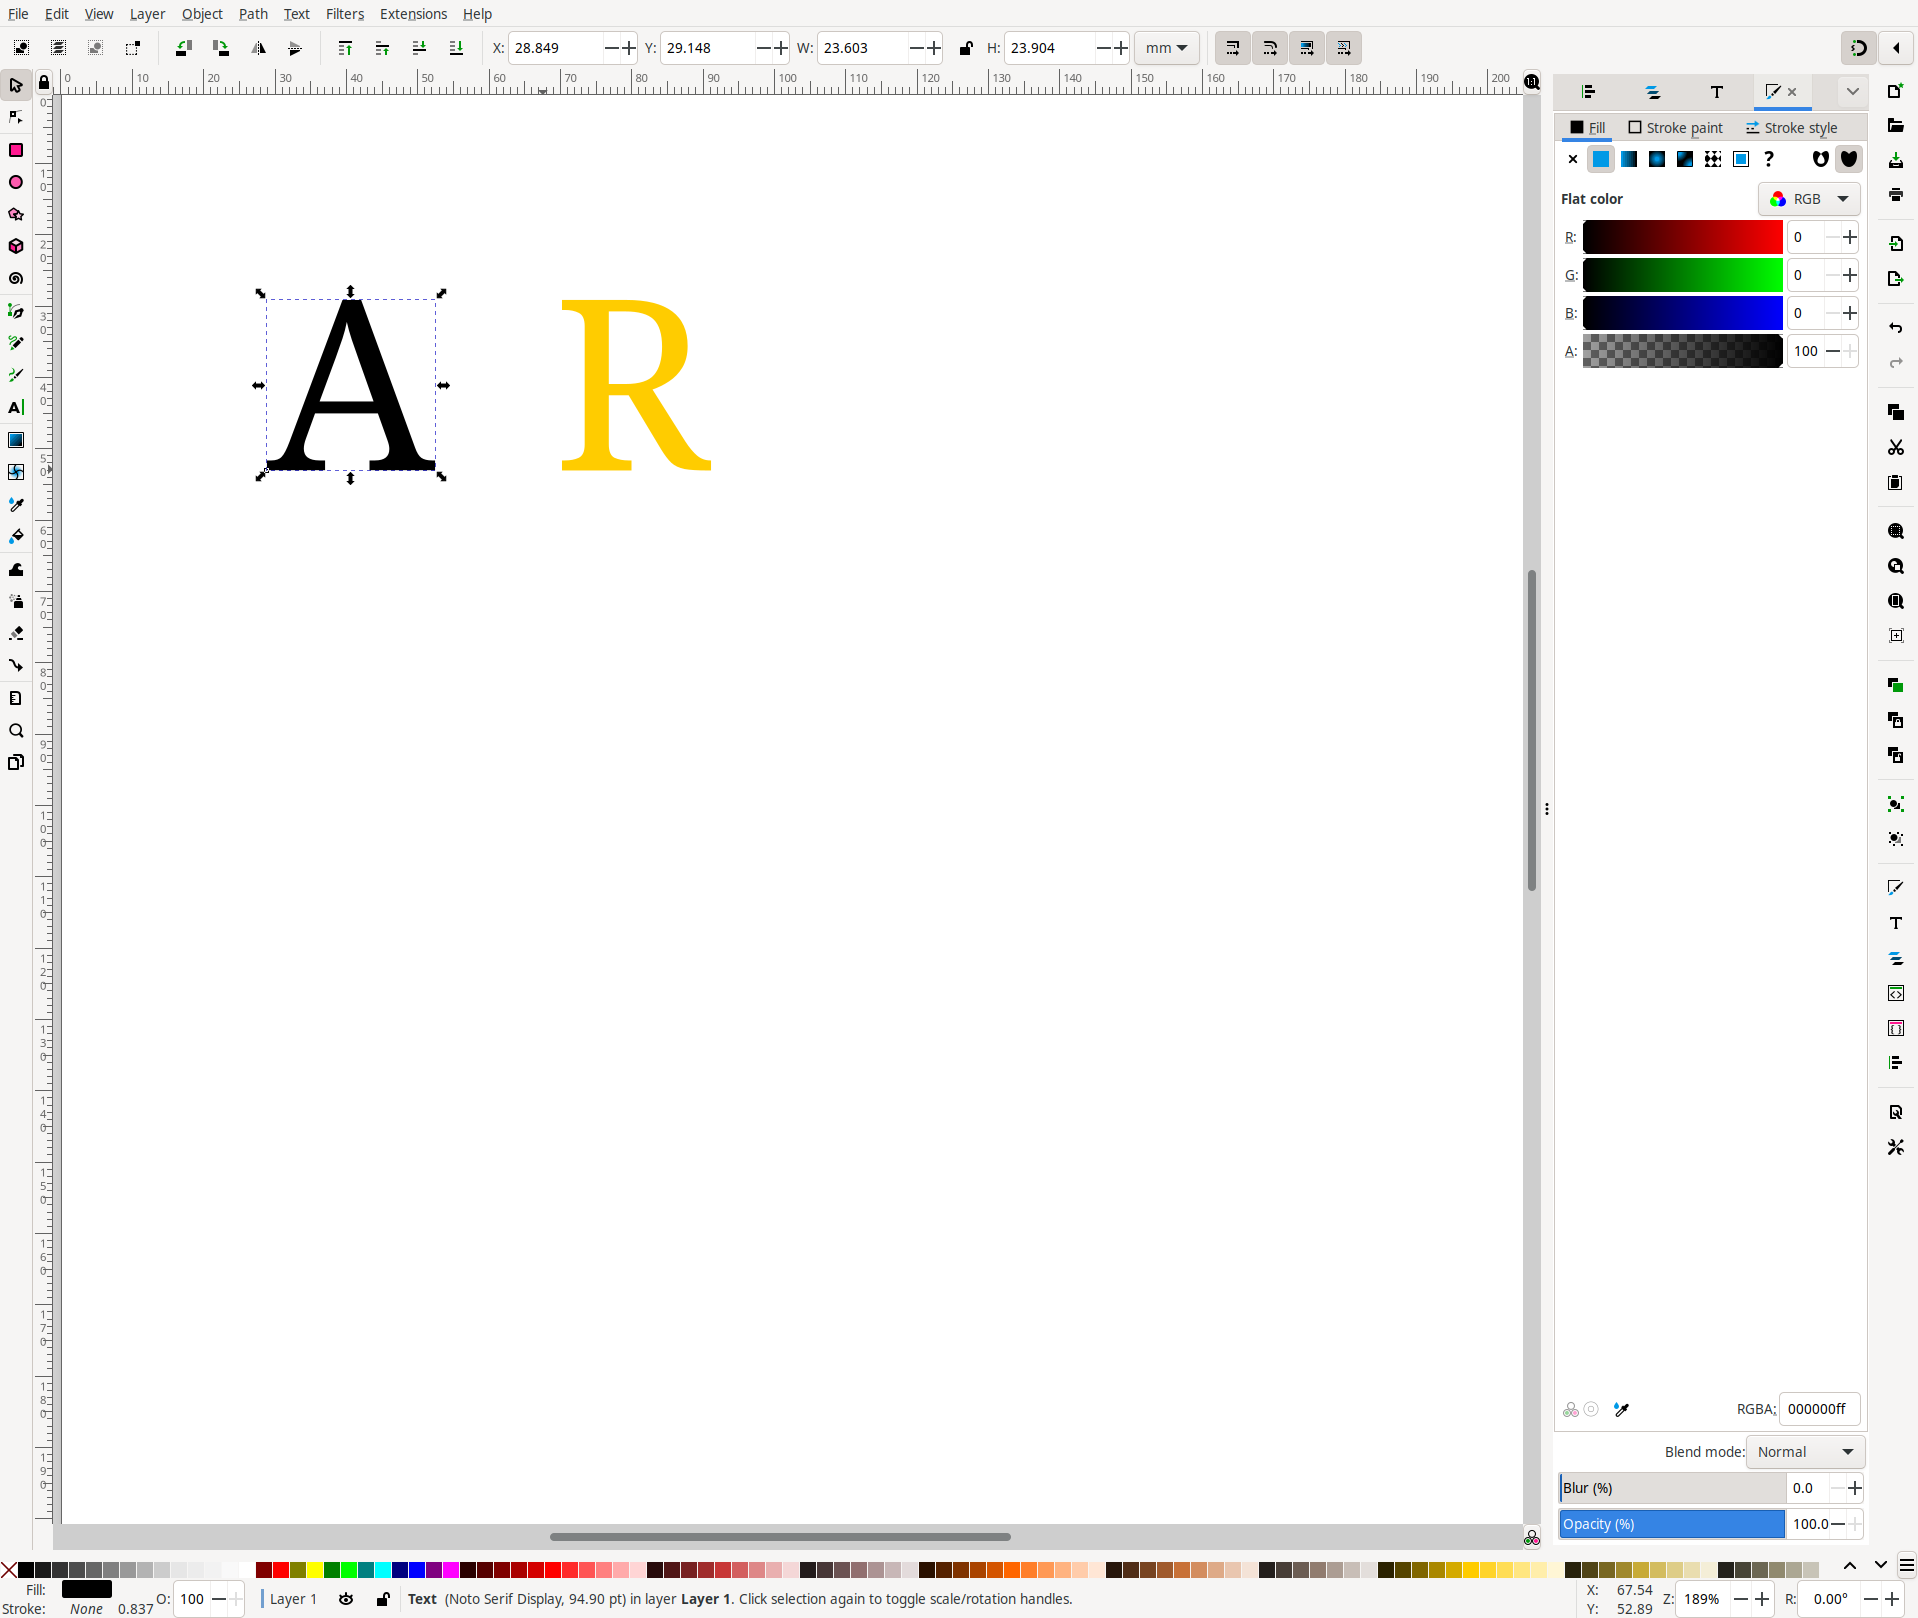
1. Draw simple letter
Use Create and edit text object (T) tool to create a letter and select font of your choice. I chose Noto Serif Display in this case but you can choose any preferred font available on your system.
After creating the letter simply duplicate it either by right clicking when in select tool and click duplicate or use Ctrl + D keyboard shortcut. Then edit the duplicated letter to some other letter and select a different color for it.
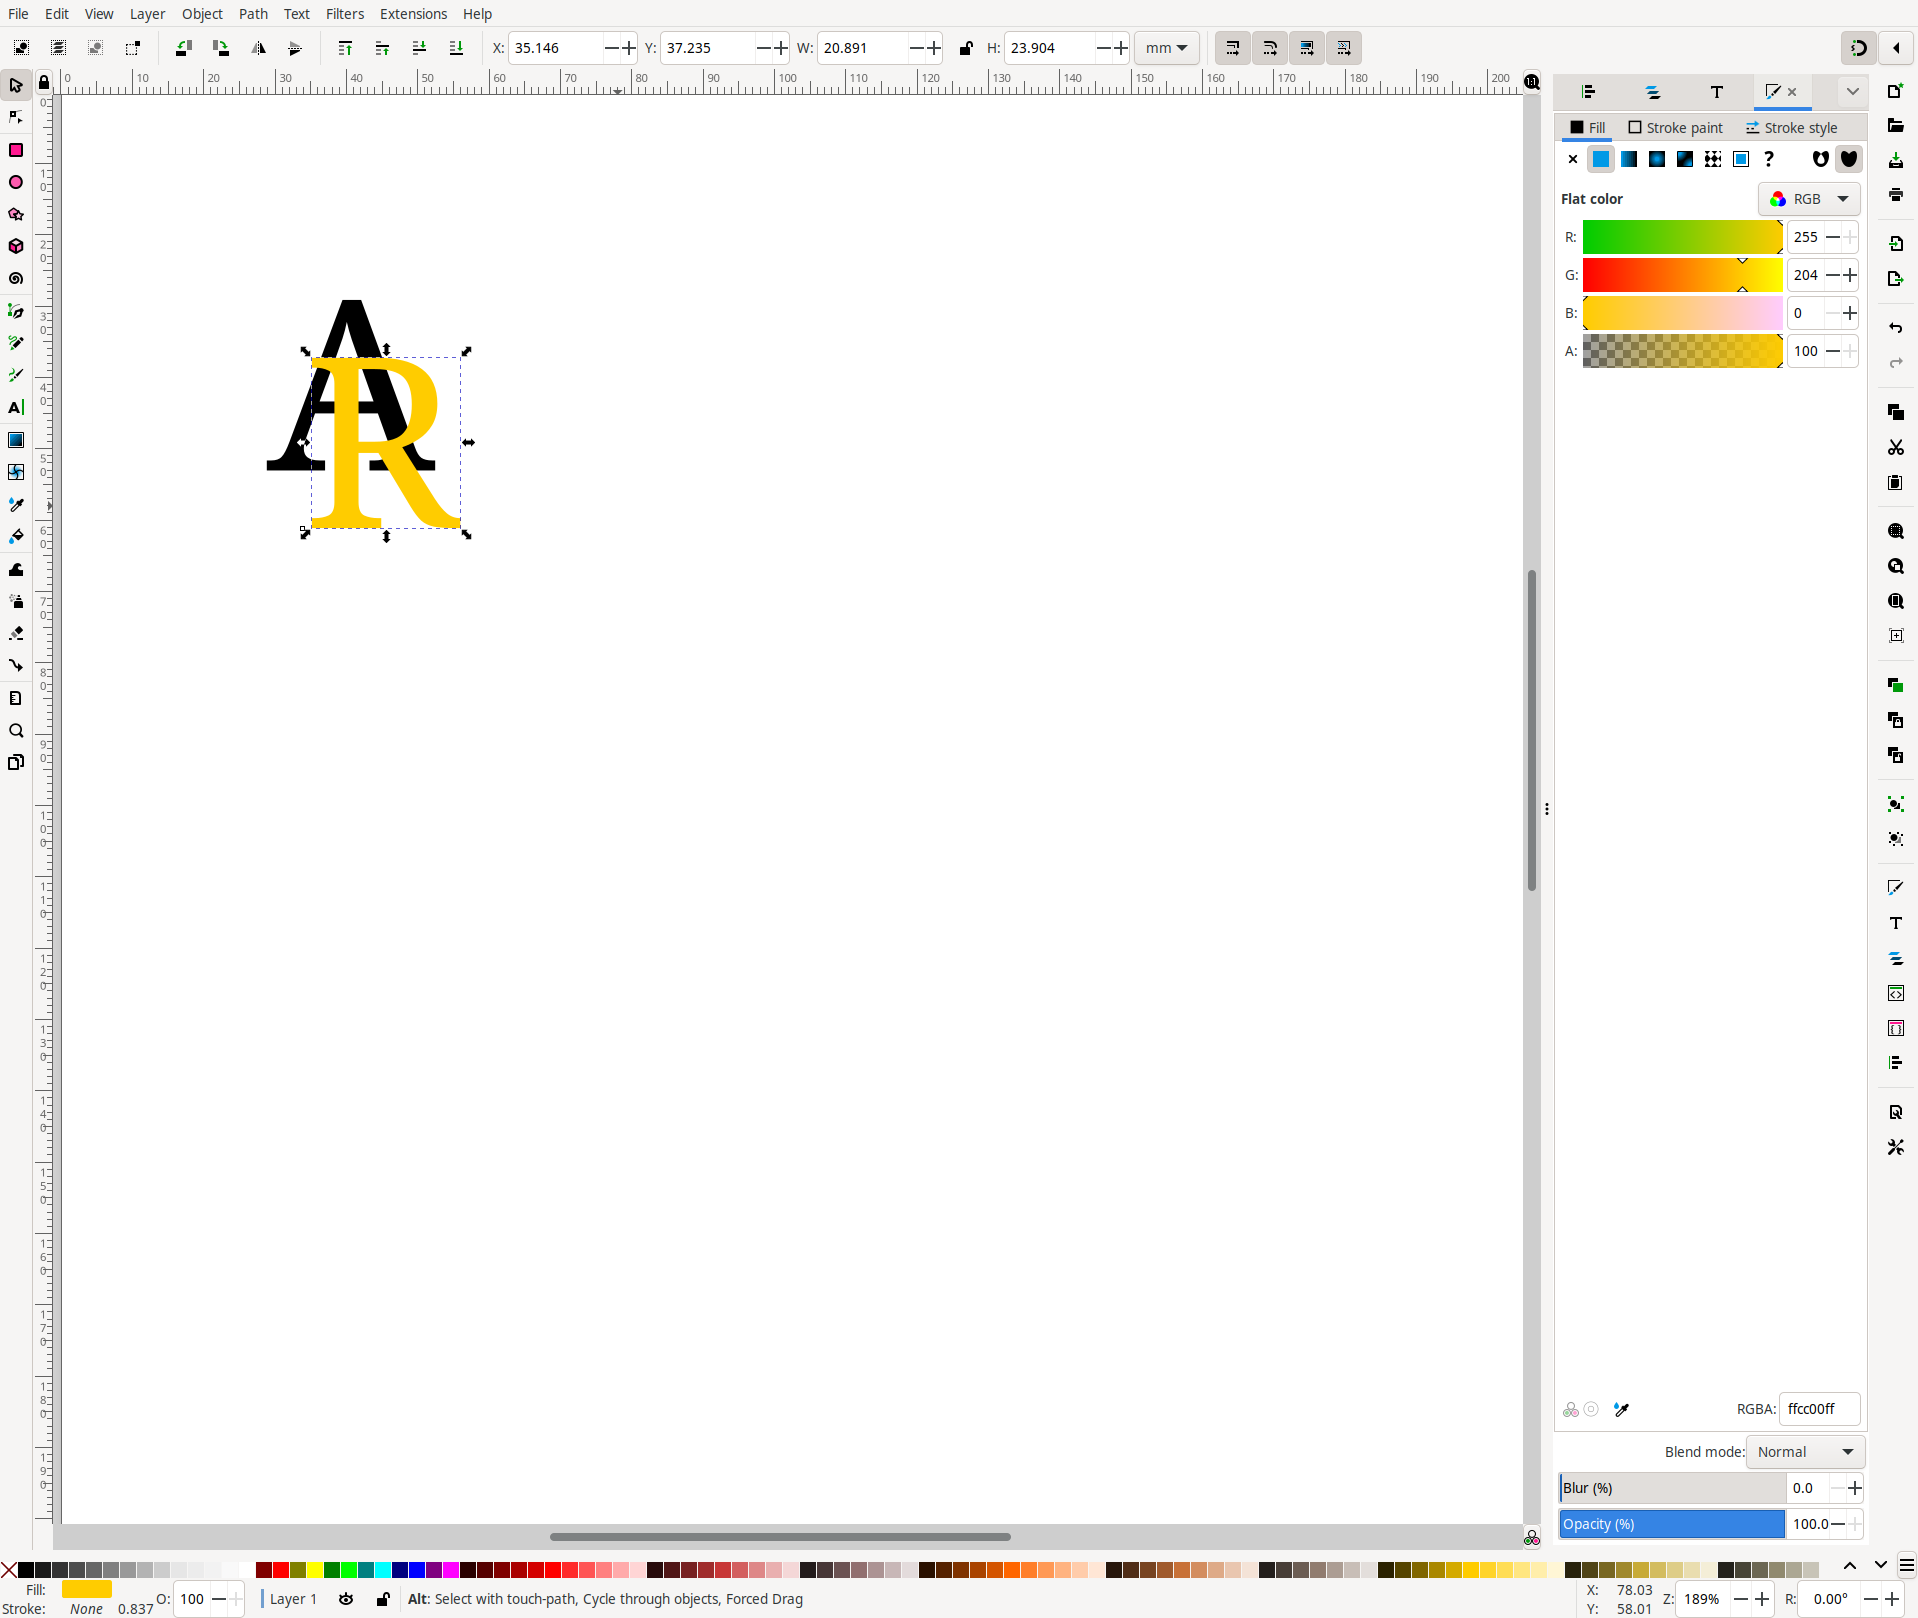
2. Adjust letter on top of another
Now adjust the letters on top of another. Make sure to have at least 2 overlapping regions in both letters:
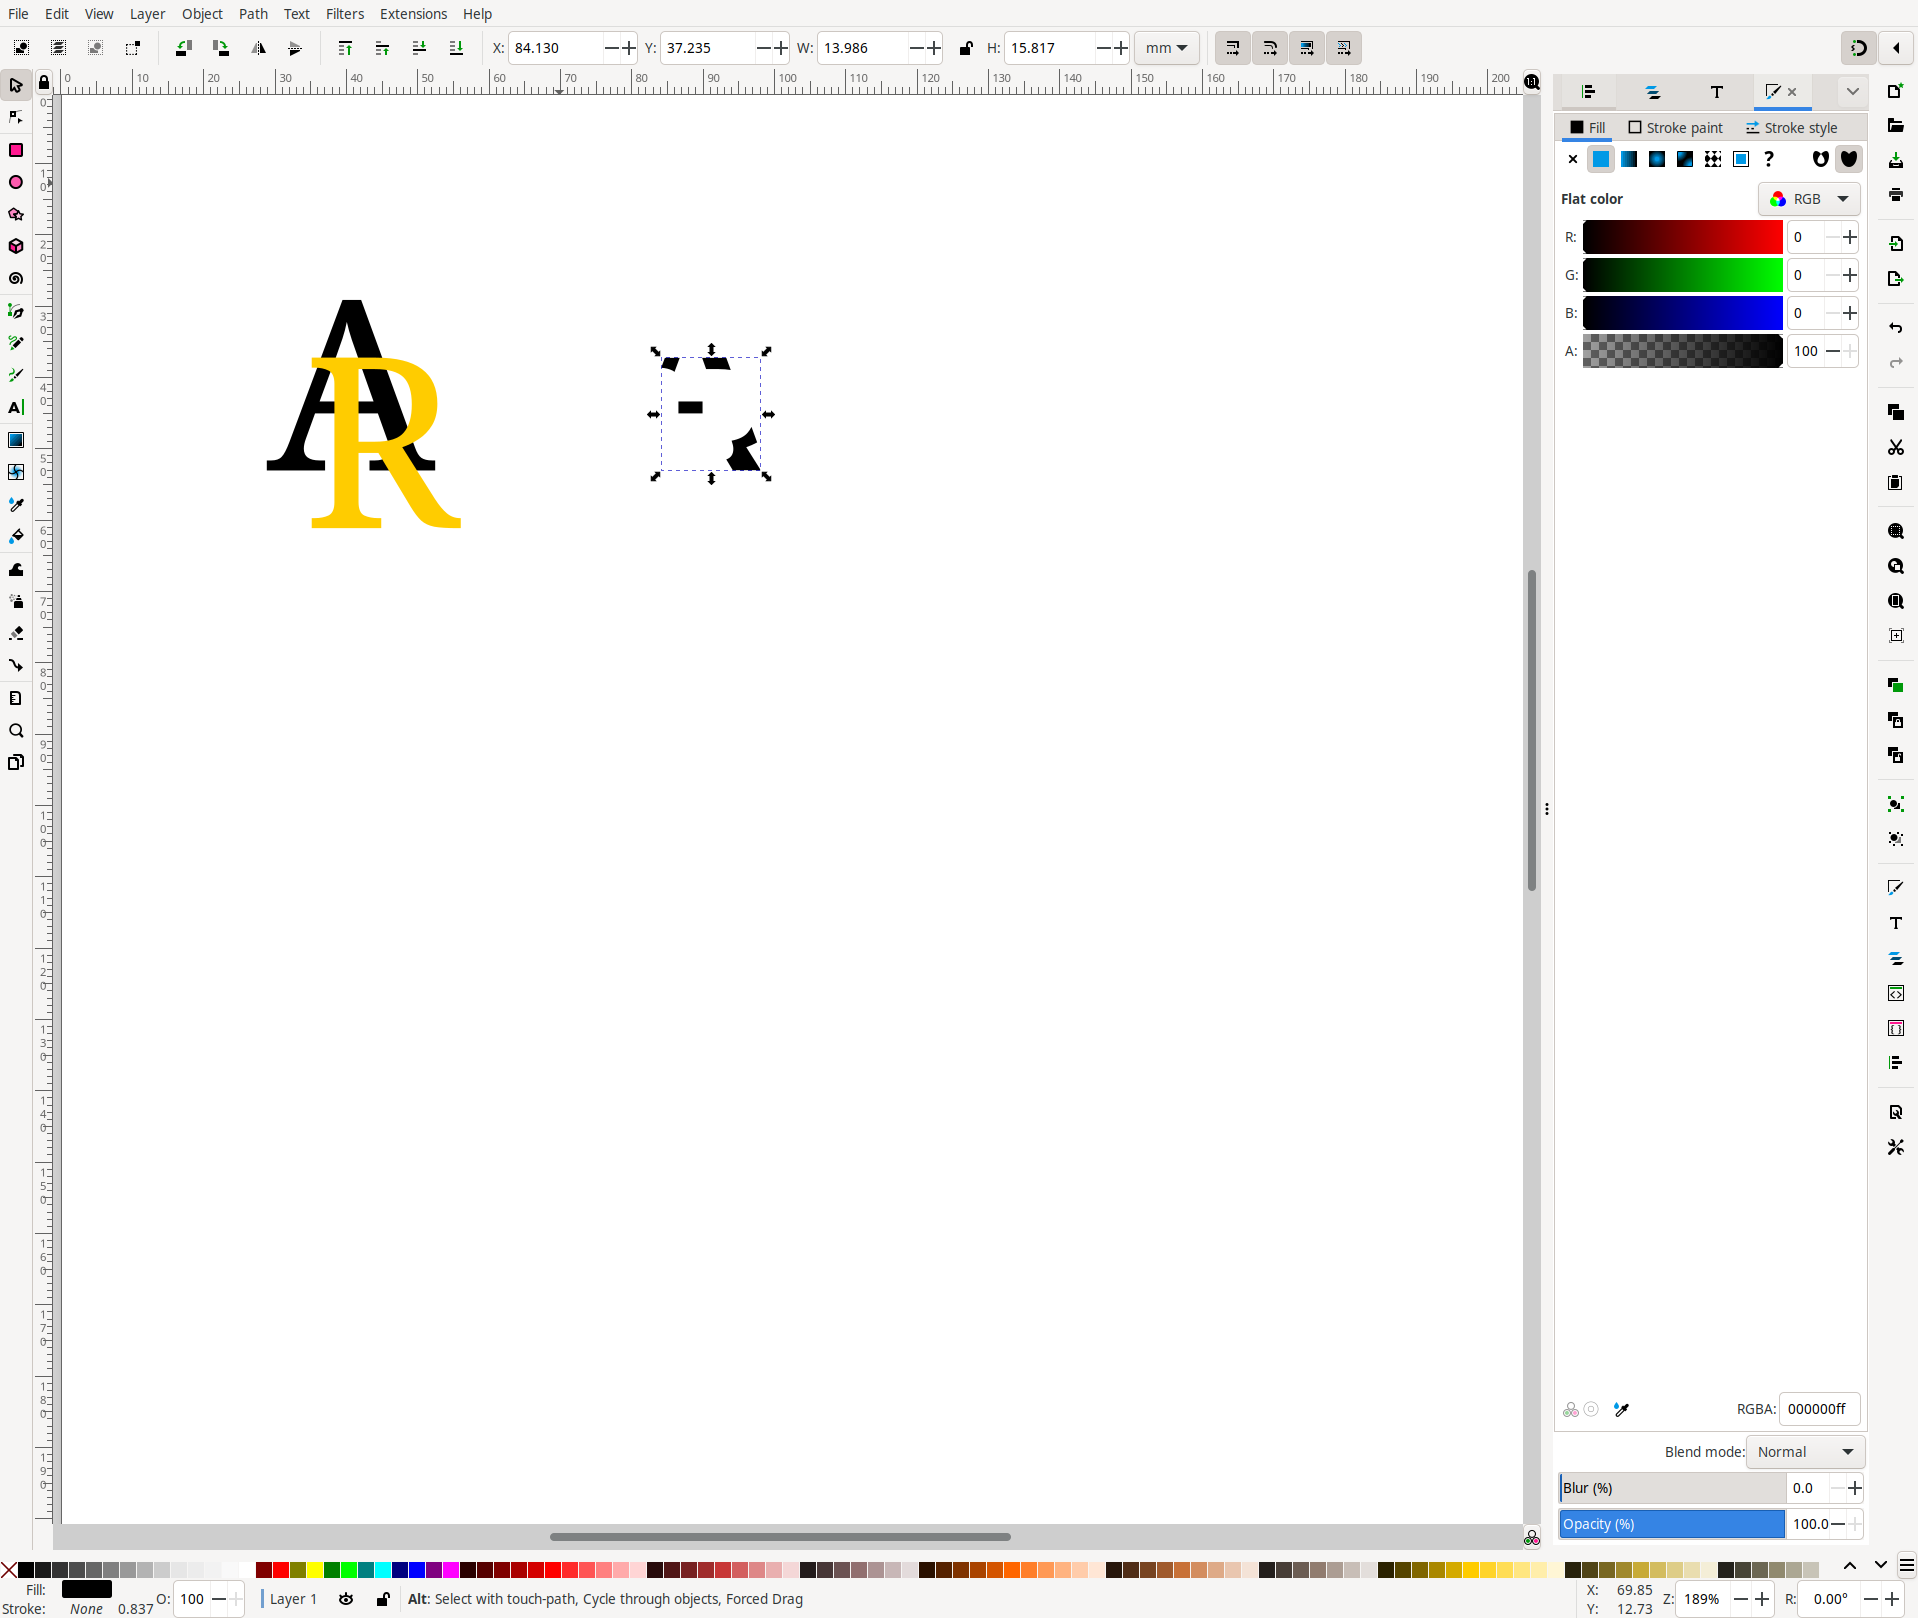
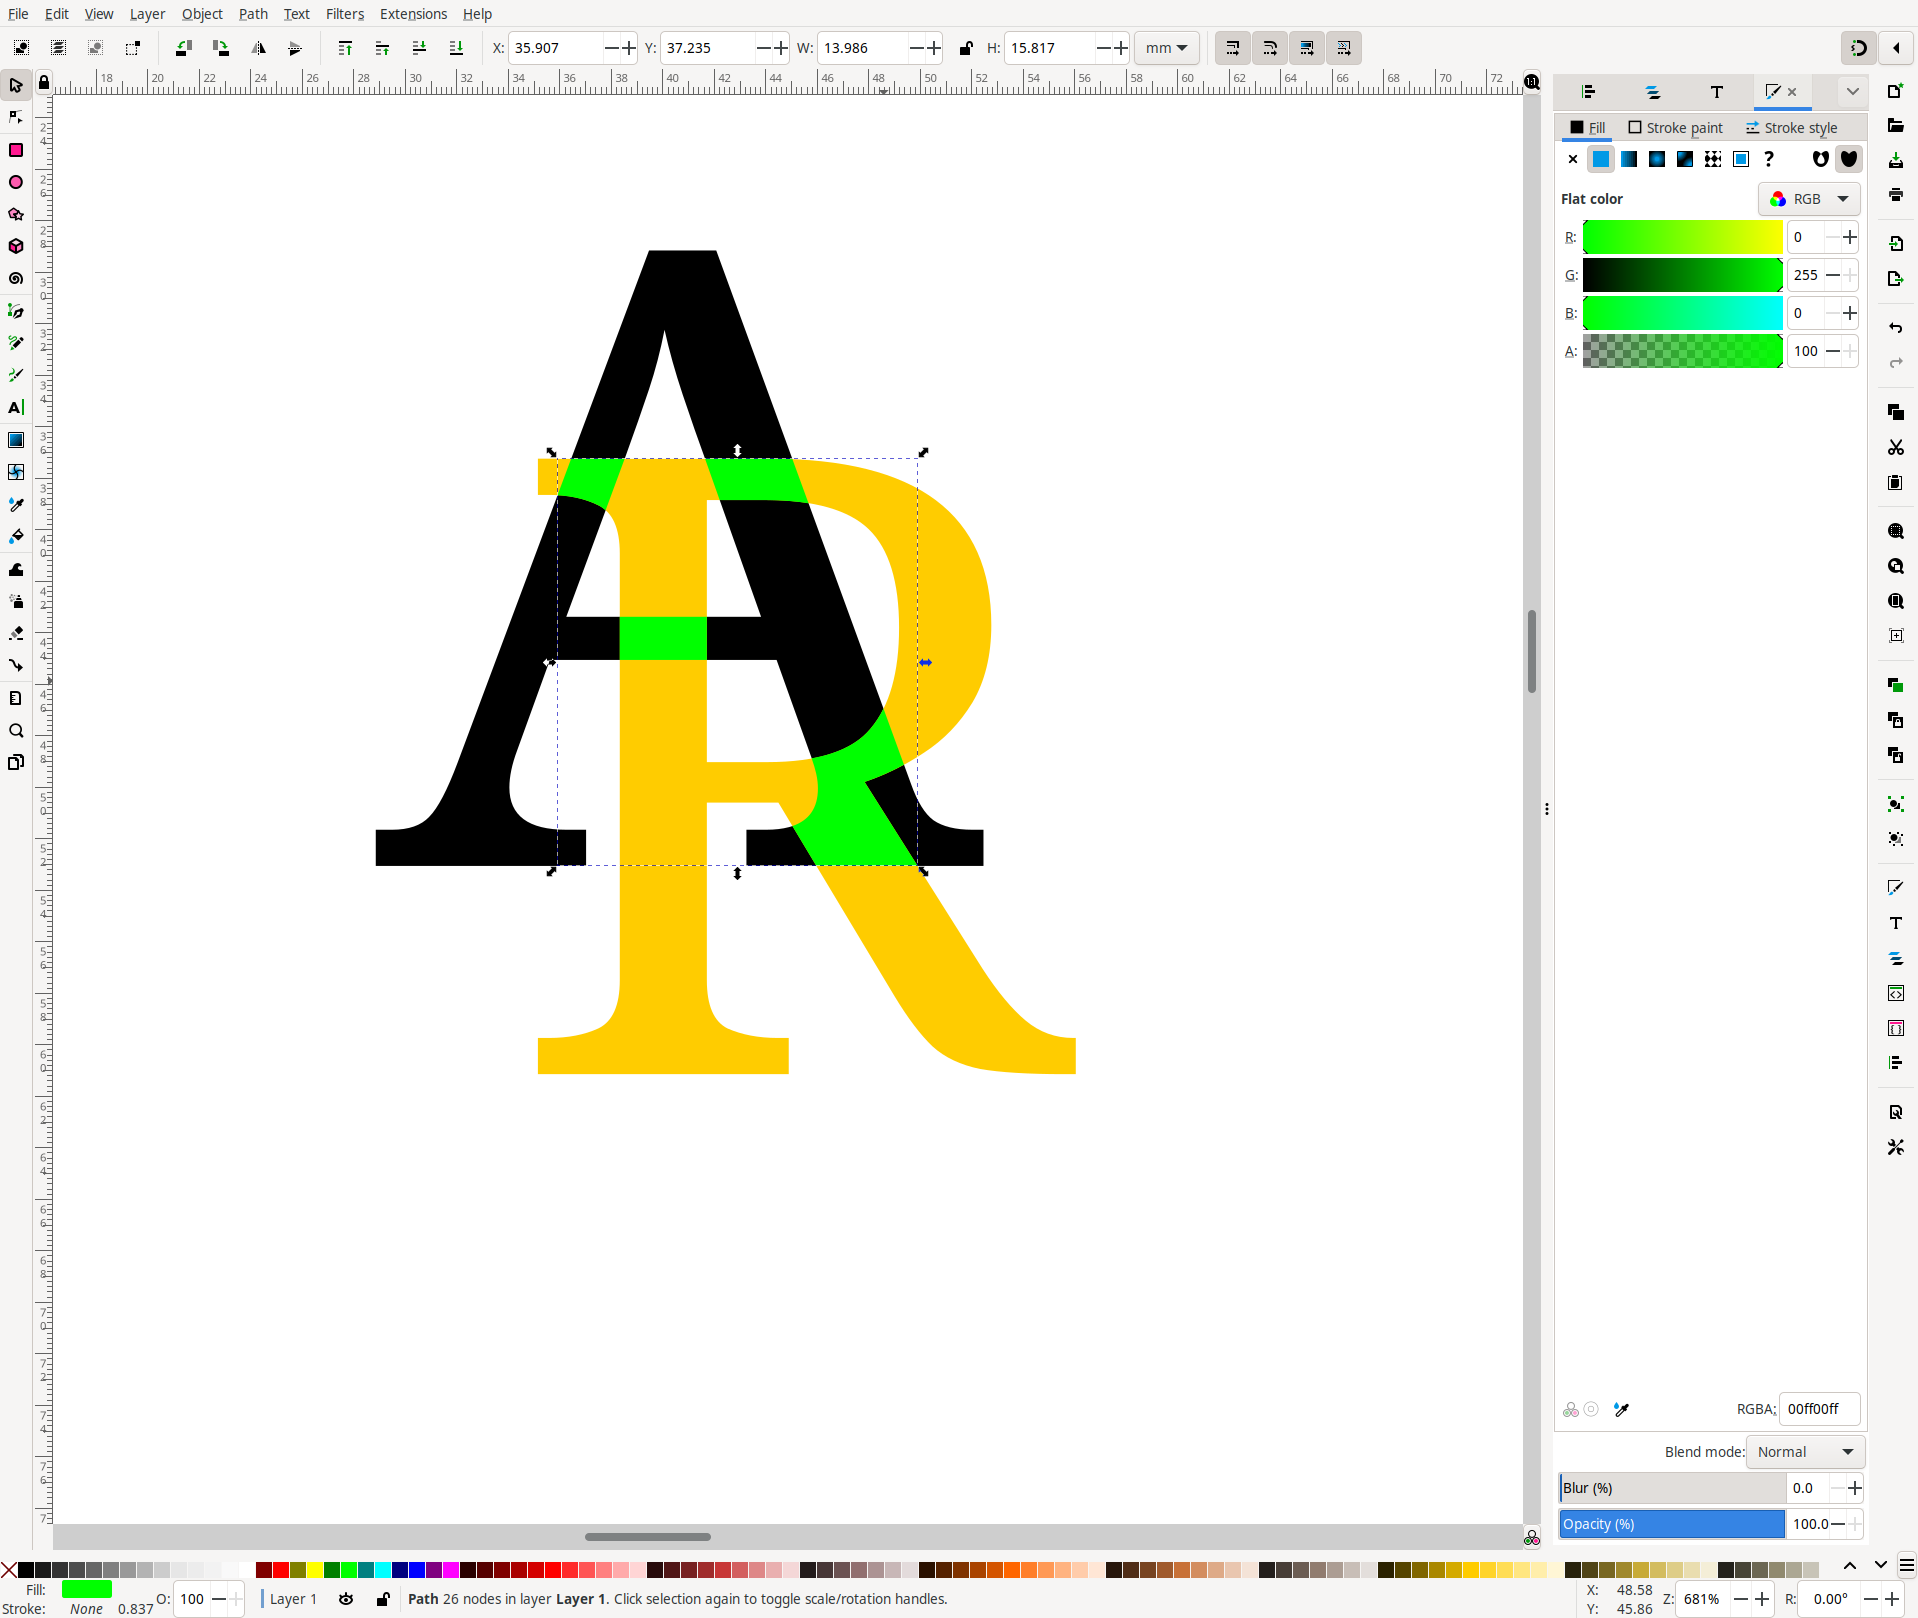
3. Intersection of letters
Now select both letters by Ctrl + A and duplicate both letters. Once duplicated, we’ll select from Path -> Intersection (Ctrl + *) This will give us the intersecting region of both letters:
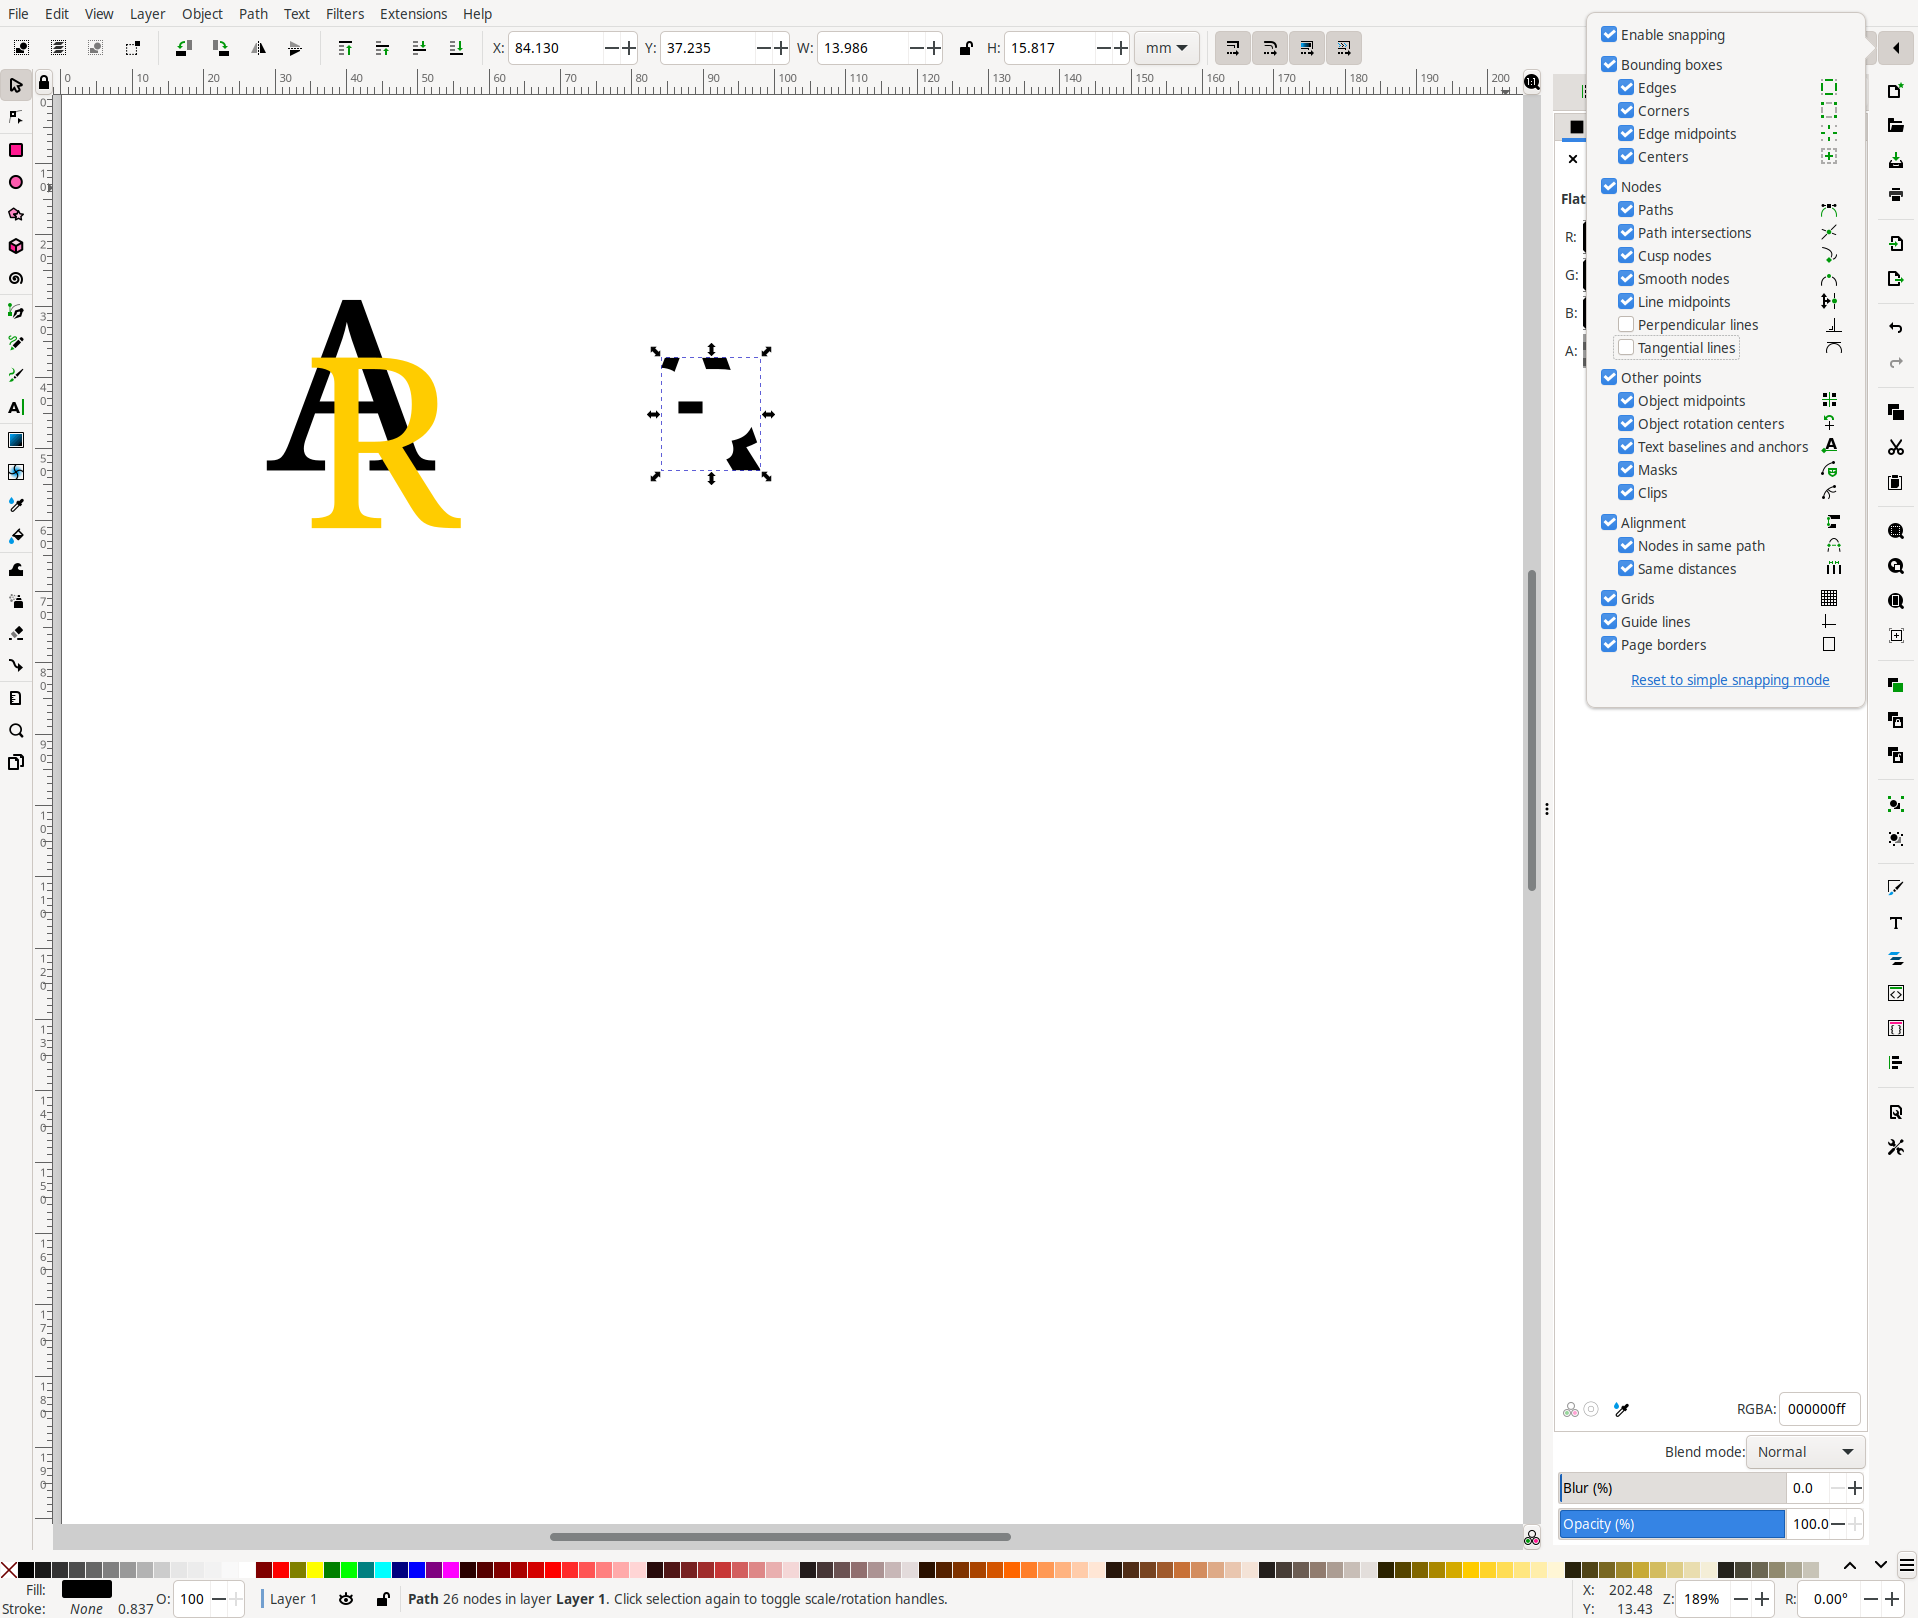
4. Enable snapping options
Snapping tool options will help use place the intersecting region of letter on to the original letters easily. Enable snapping options as shown:
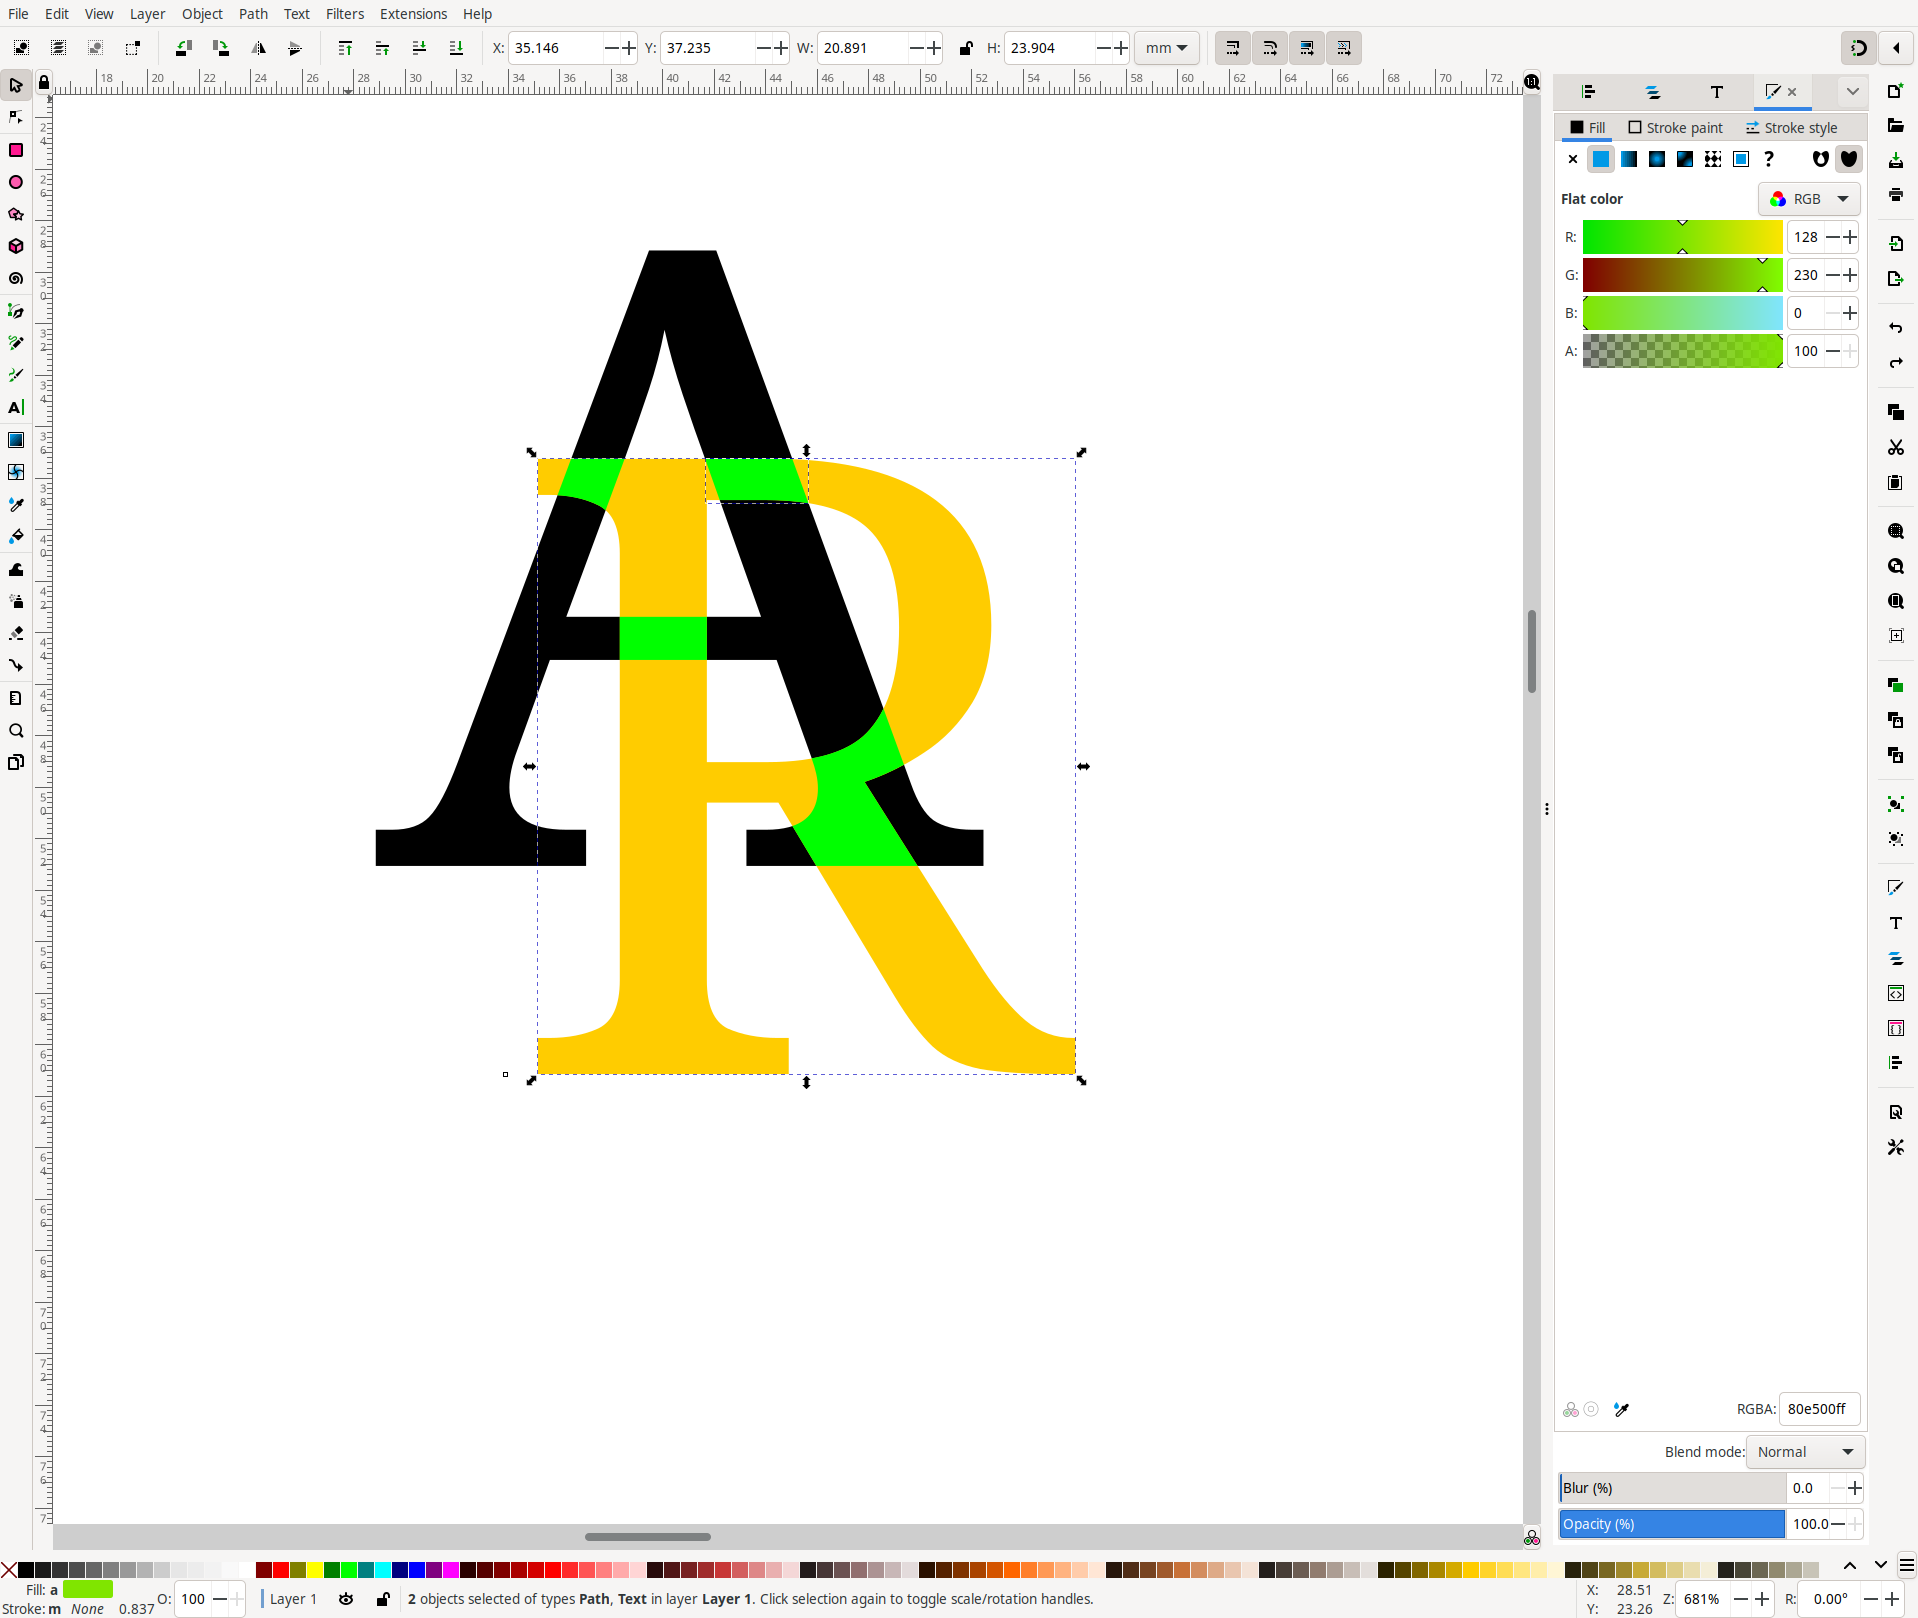
5. Rearrange the intersecting region on to original letters
Now that we’ve the intersecting region of the letters, just select a distinct color for it and place it on to our original letters:
6. Break apart the intersecting region
Now with intersecting region placed on to the original letters and the intersecting region selected go to Path -> Break Apart (Shift + Ctrl + K). This action will separate out intersecting regions in to different parts:

7. Interlocking letters
Its time to lock the letters in between. To achieve that select an intersecting region and one of the letter (R in this case) and go to Path -> Difference (Ctrl + -). Repeat this step to all the remaining intersecting regions.
8. Apply coloring
Now that we’ve our letters interlocked, we can select each of the letter and color them as per our liking.
I chose linear gradient fill for both letters:
For letter A
Linear gradient fill stop 1:
- Red: 0, Green: 159, Blue: 253, Alpha: 100
Linear gradient fill stop 2:
- Red: 42, Green: 42, Blue: 125, Alpha: 100
For letter R
Linear gradient fill stop 1:
- Red: 255, Green: 221, Blue: 45, Alpha: 100
Linear gradient fill stop 2:
- Red: 237, Green: 83, Blue: 135, Alpha: 100
This will give us the final result:

9. Export the selection as image
Now that we’ve the vector graphic logo, we can save it as .svg file or we can export creation to a png or jpeg file image.
References
I hope you found this informative. Thank you for reading…
~Sudu